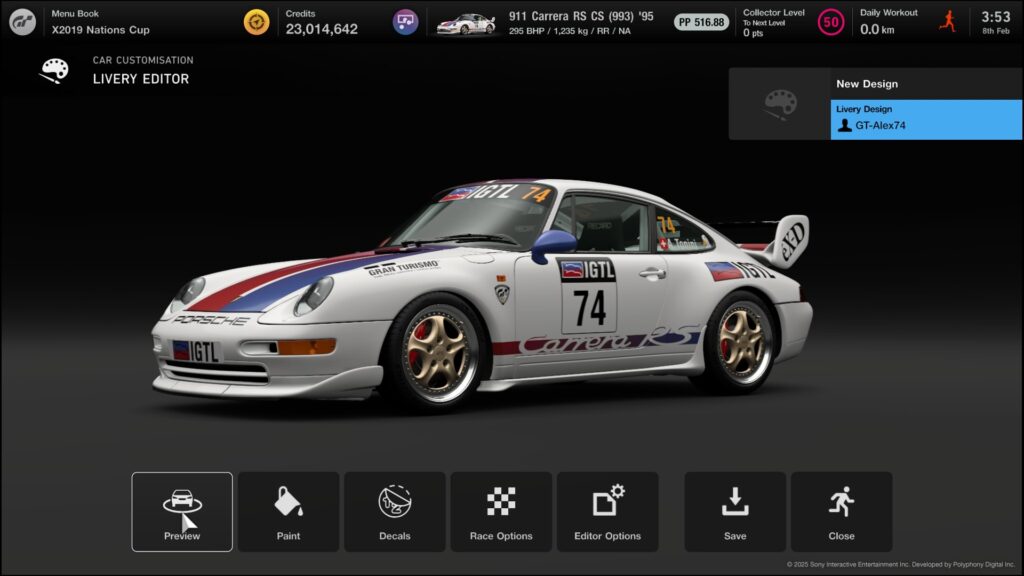
Gran Turismo 7’s livery editor is found in Car Customisation under GT Auto section in the main menu, among other visual customisation options. It’s a good idea to install all the parts you want on the car before going into the livery editor. Once you’re ready, put some relaxing music on, get a drink and a snack, and take your time to try and explore.
The Tools
Before you start designing, it’s a good idea to familiarize yourself with the following tools.
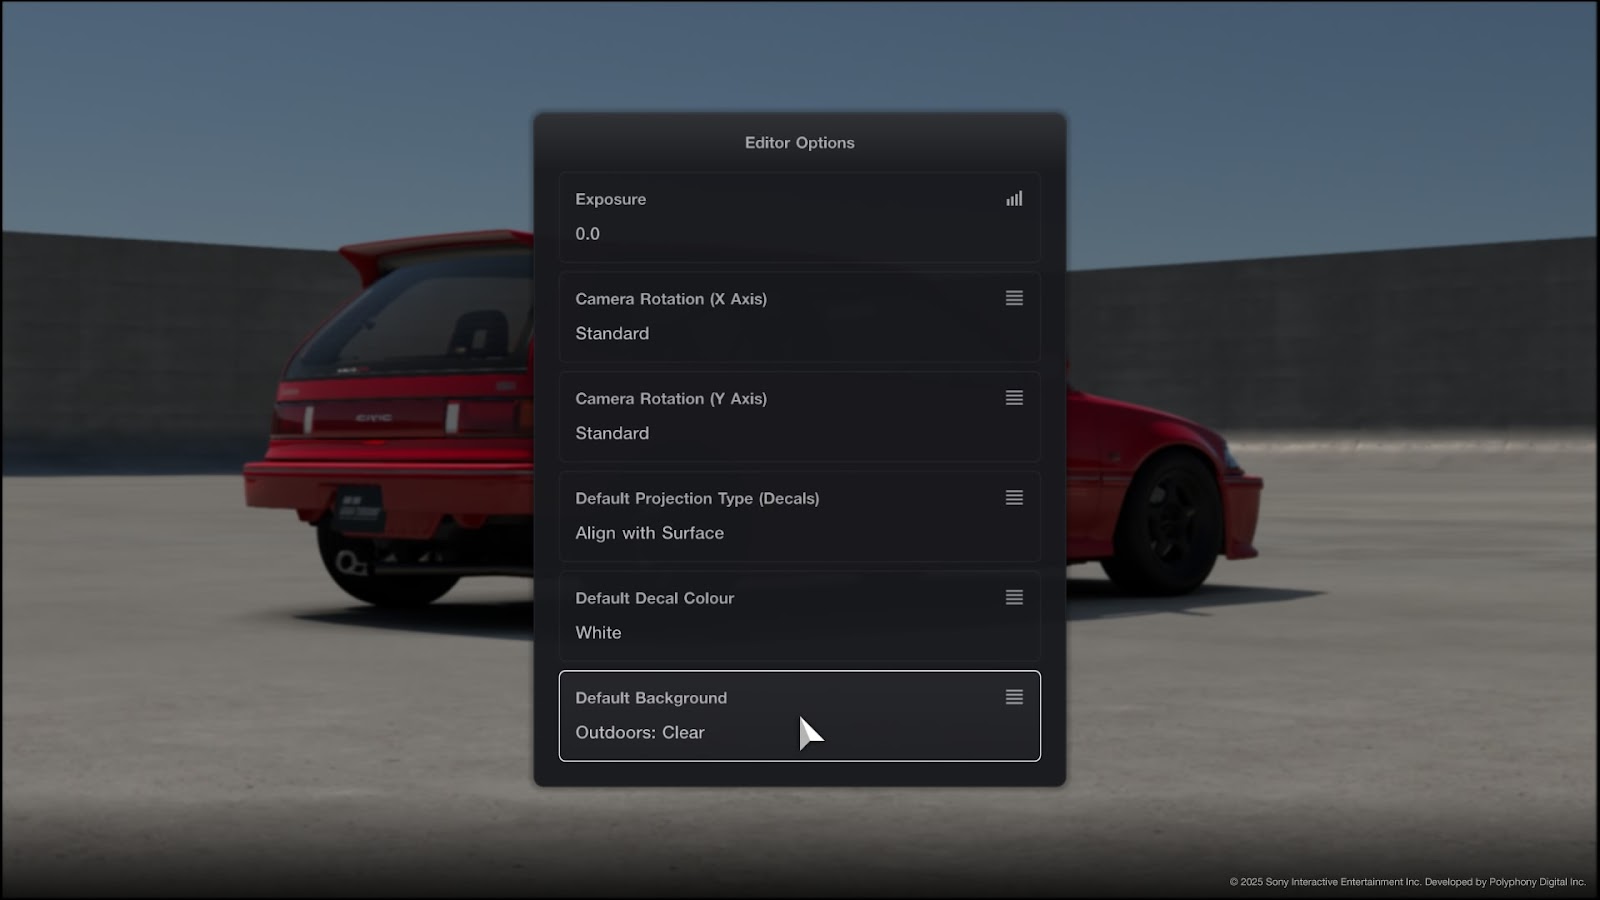
First off, go in the Editor Options. There, you can change the way your camera inputs work, change some default settings, but the most important thing to look at is the Default Background: the outdoors options are great to see how your livery will look in real conditions. I personally keep the default to Outdoors: Clear because it is the most common type of weather you will be racing in.
After that, you can have a look into Race Options for some plug and play customisation. You can add racing number plates that will automatically be positioned on the car and above the rest of the livery (you will have to use stickers if you want a different size or placement), a windshield banner (including an entirely customisable option), your driver name (which will be either your PSN idea or the name you chose to input in game, fixed position), and on some cars, change the headlight covers (most common option is yellow tinted glass) and the tyre sidewall stickers (mostly on race cars with slicks).
The R3 key is also a good friend: it highlights all the parts of the car that are included in each editing area by highlighting it in cyan. While it’s generally very similar for most cars, some models may have a surprising distribution of elements.
The Paints

The first step of creating a new design is usually to select a base paint. You can use a plain color from the palette or fine tune it with HSL values and use a glossy, metallic or pearl finish. But you can also buy factory paints from all manufacturers, and even special paints with different finishes and effects. Each paint is a one time purchase that becomes available for all your liveries. You can then use and mismatch different paints for different sections of the body, such as the bonnet, mirrors, wings and even wheels.
Special tip: using a color shifting paint, you can overlay a plain sticker over it and turn the opacity down to create your own metallics and more subtle color shifts. It requires some trial and error to get a result you like, but don’t be afraid to experiment.
Gran Turismo 7 Data Logger
Delta is the first-ever Data Logger for Gran Turismo. Analyse your driving, get AI tips, and unlock lap time like never before.
Another tip about wheels: different models can have different paintable parts. Some wheels will get entirely repainted, but on others, it’s possible only the face of the wheel is affected, or only the barrel in rarer cases. If you’re not getting the result you wanted, don’t worry: you can save your livery and change wheels afterwards. The paint won’t apply when you change them, but if you reapply the livery with the new wheels on, their color will properly update.
The Stickers
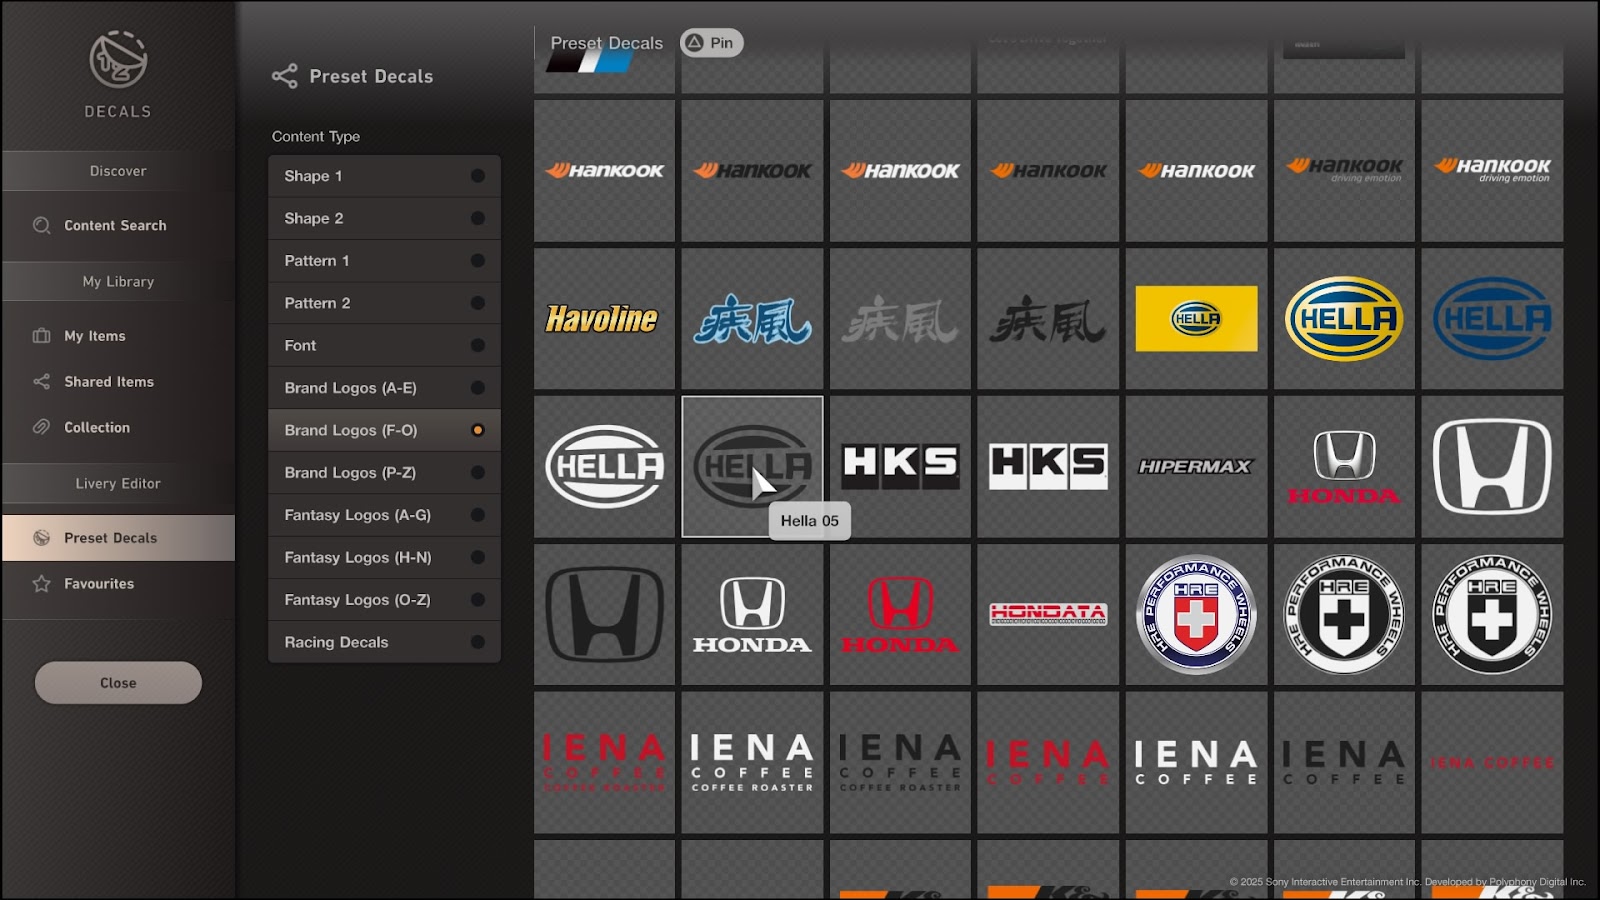
Stickers are the core of livery personalisation. The possibilities are endless: shapes, real and fictional brand logos, user created decals and even your own custom ones, the only limits are your imagination and the max amount of layers (which is quite high, so you shouldn’t run into any issues). If you’re using a lot of custom stickers from the community, it’s a good idea to create a few lists of favorites so you don’t have to search for them every time.
Stickers can be applied on most parts of the car. Each Editing Area has its own limit of layers you can apply, but again, you should have plenty enough. Layers can be masked, moved above or under each other, be duplicated, copied on the opposite side or mirrored. Aside from brand logos provided by the game, most stickers can be recolored (only with the color picker, not car paints), resized and distorted in multiple ways. You can also change the decals finish by going into the Decal Texture section under the Editing Area menu. Careful though: this setting affects all your layers, and there is sadly no way to change that for individual stickers separately.
Finally, don’t hesitate to press triangle when positioning your sticker to access opacity settings and numerical input control over angles and sizes, which can be very practical to keep things consistent between different layers.
Camera and Projection
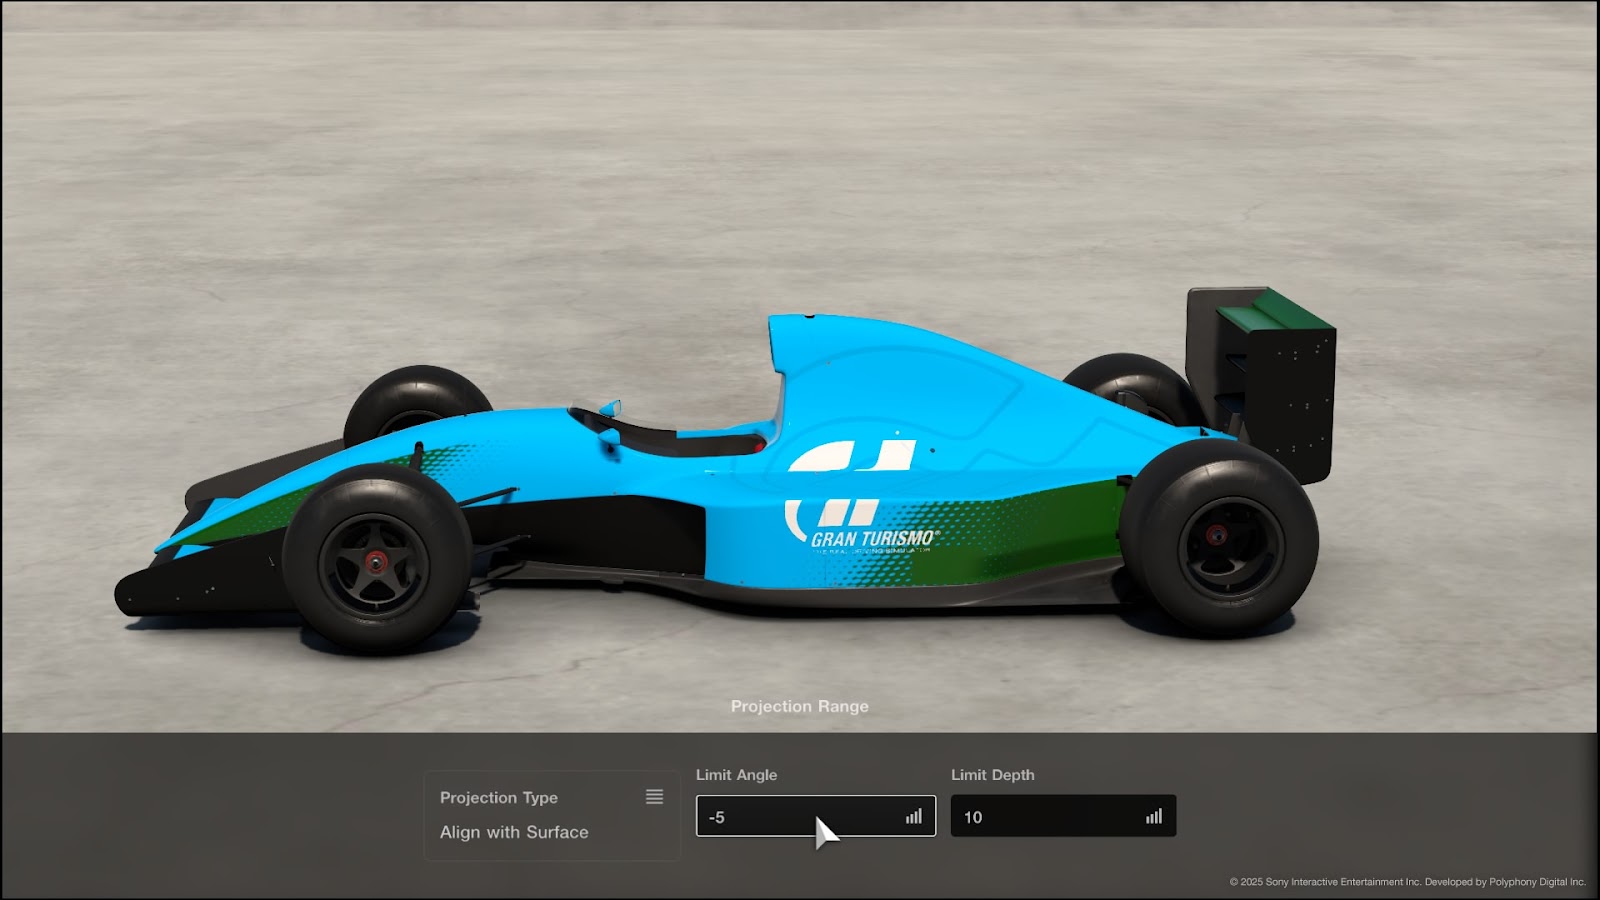
When you’re trying to do more complex designs or work with complex body shapes and overlapping surfaces, mastering the combined use of camera positioning and projection angle settings is critical.
Aligned with surface means the sticker keeps its original proportions and is rendered as if it was physically applied and bent over the surface. Aligned with camera on the other hand, will twist the proportions of the sticker so it appears unchanged to the eye from the camera angle defined at the moment of application.
The angle and depth parameters are also important to play with to either extend or restrict how much the sticker can wrap around elements and how far it can be projected. Some areas on specific cars can require a lot of finessing, but there is almost always a way to get the sticker to do what you want.
Save and Share
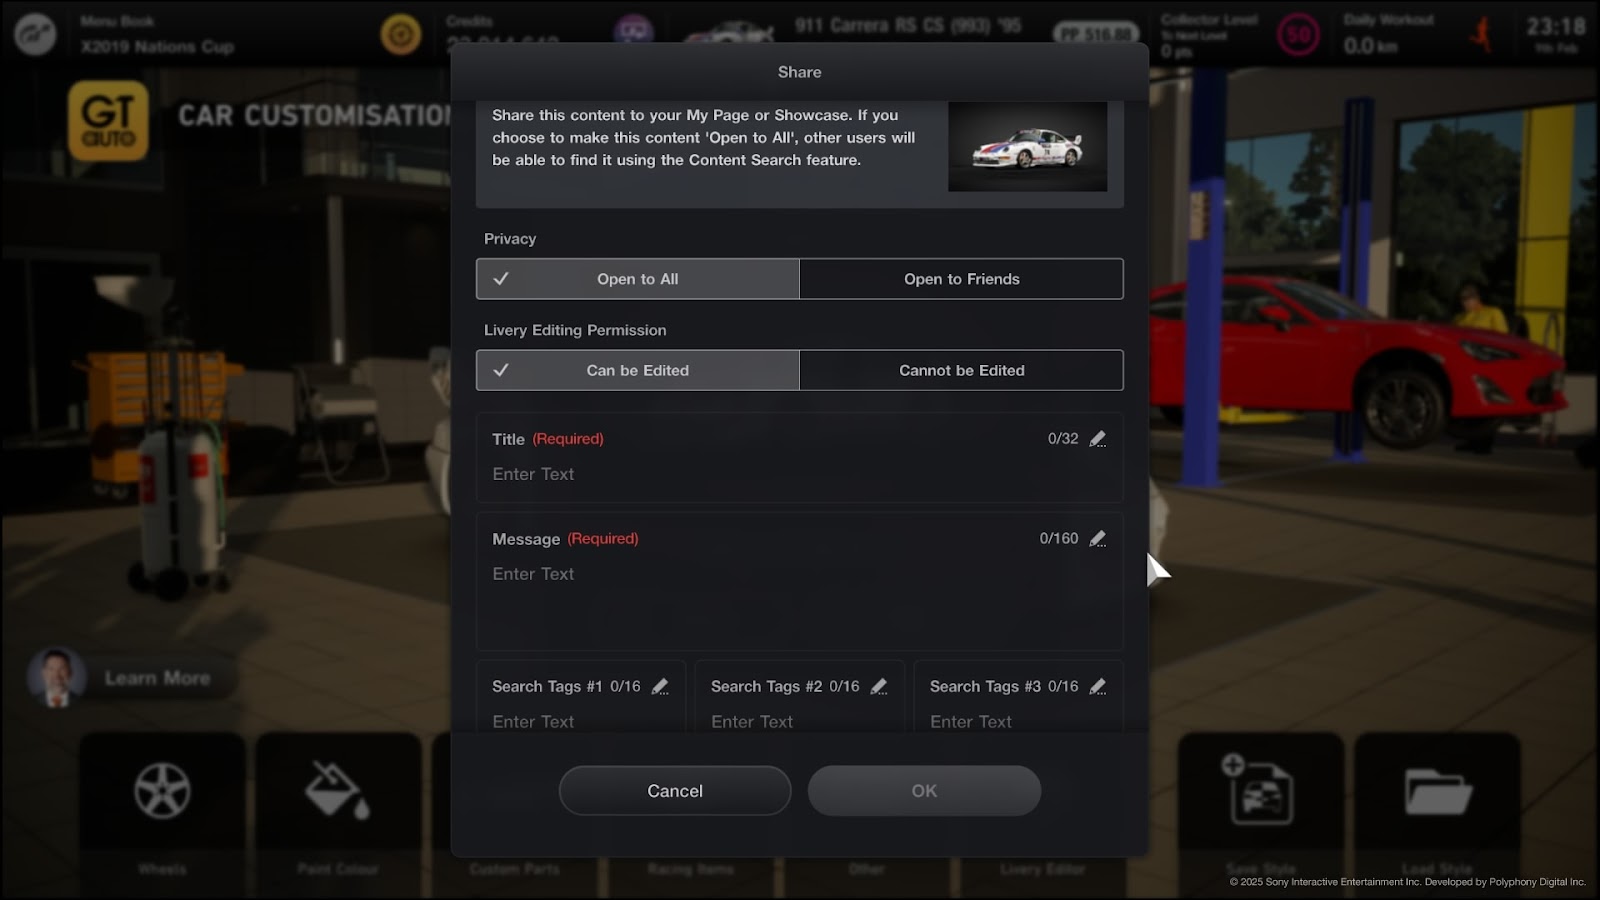
When it comes to saving your work, there are two steps you can take. The first one is mandatory: saving the livery before exiting the editor. But if you want to share your work, and have the fastest way to reapply it, you need to save it as a style.
Styles encompass not only your livery, but also all the other visual parts you have fitted on the car, including wheels, aero parts and accessories. People who download your style can then change those parts if they want, and edit the livery as well if you decide to not restrict that.
Note that widebody styles are not compatible with regular body styles, but a livery you made yourself can be applied indifferently on either.