Brands Hatch GP Circuit is a renowned motorsport venue located in Kent, England. Here are some facts and a brief history of the circuit:
- The Brands Hatch GP Circuit is a 3.916 km long track with a total of 9 turns.
- It has a rich motorsport history, hosting various prestigious events including the British Grand Prix, British Touring Car Championship, and many other international and national races.
- The circuit features challenging corners such as Paddock Hill Bend, Druids, and the famous fast sweep of the Pilgrim’s Drop.
- Brands Hatch GP Circuit has a unique natural amphitheatre setting, providing excellent viewing opportunities for spectators.
- The first British Grand Prix held at Brands Hatch took place in 1964, and the circuit hosted a total of 12 Formula 1 races between 1964 and 1986.
- Famous drivers like Ayrton Senna, Niki Lauda, and Nigel Mansell have achieved success at Brands Hatch throughout their careers.
- In addition to Formula 1 and touring car races, Brands Hatch has also hosted motorcycle racing events, including rounds of the Superbike World Championship.
The following track guide will focus on how best to navigate this highly technical circuit. Pay attention to the braking and turning points, gears, apexes and finally where best to utilise lenient track limits to gain valuable lap time. The bumps and elevation changes also need special attention at Brands Hatch.
Turn 1 (Paddock Bend)
Heading down the Brabham Straight to start a lap, make sure to be on the right-hand side of the straight as this gives the shortest run towards the start/finish line. As you cross the start/line start to move over to the left for the entry of Turn 1.
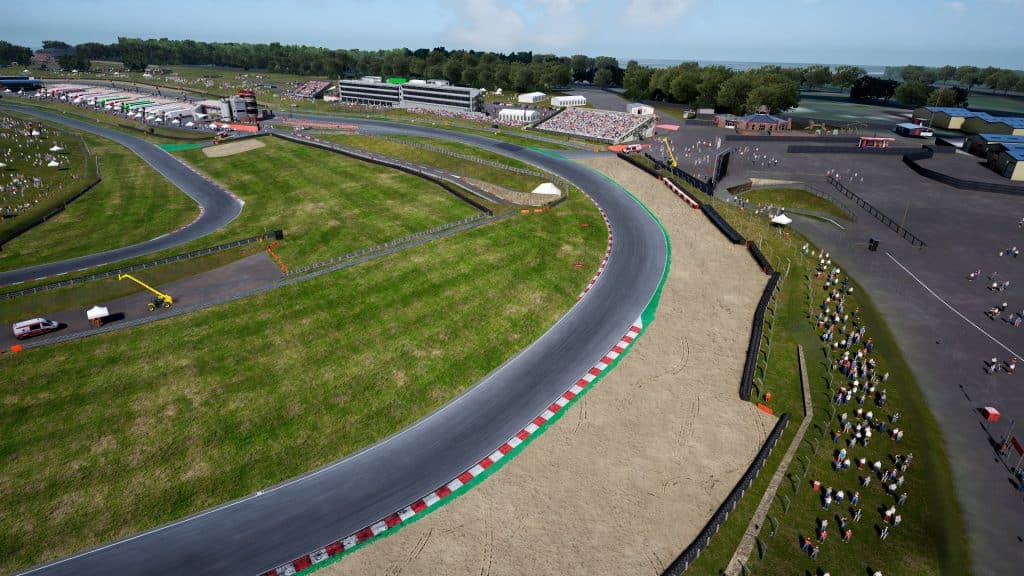
After you have positioned the car over to the left-hand side of the track, look ahead and spot your braking marker which is just after the “two” brake board. Hit the brakes at this point while slightly turning in. The corner is completely blind at this stage but stay wide to aim for a late apex. Change down two gears into third and really start to increase your steering input as you pass the black “Edge” sponsor banners on the inside armco barrier.
Aim to get your front right tyre onto the inside red and white kerb as you apex at the mid-way point between the two red Audi Sport banners on the inside of the corner. Be progressive with the throttle as you feed it back on, and try to use as much of the exit kerb as you can get away with.
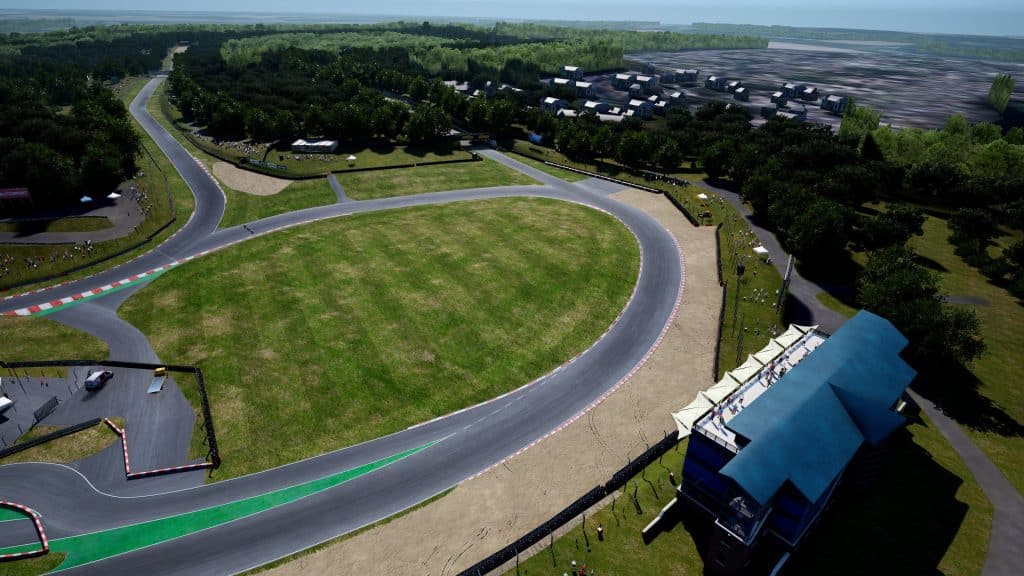
Turn 2 (Druids)
Heading up to Druids, make sure to position the car over to the left. Looking ahead, you want to spot your braking marker which is the orange marshall block on the armco barrier on the outside.
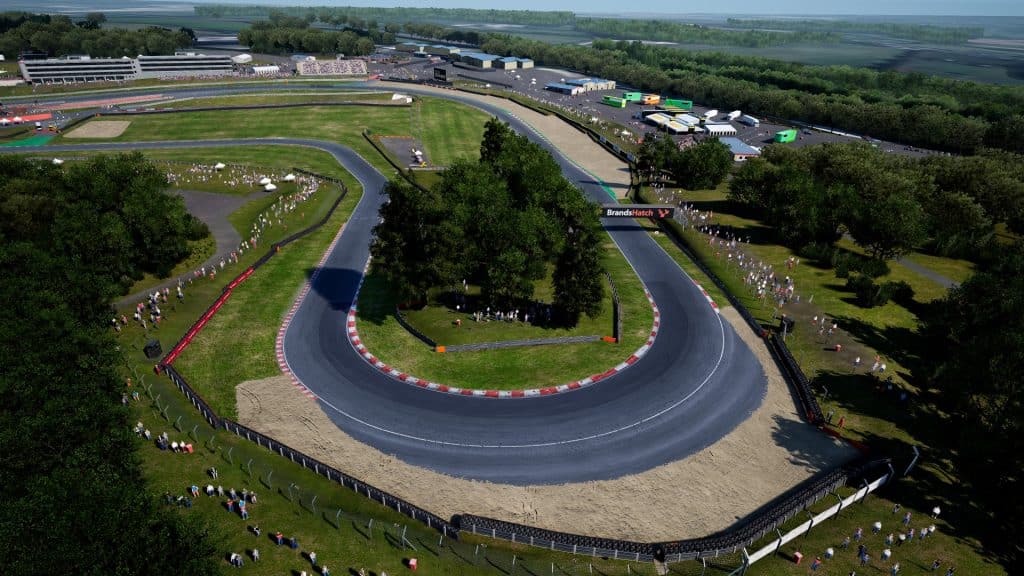
From fourth gear shift down to first to get the front end to bite. Turn in earlier than you think and hug the inside kerb for a long extended apex. You’ll notice if you use too much of the inside kerb it unsettles the car. Aim to just stay next to it as you wait for the car to rotate as you hold the throttle slightly to keep up your momentum.
Only get back on the power once the exit comes into view. Be progressive on the throttle and open up your steering to use the exit kerb that’s available. Avoid going beyond the red and white kerbing on the exit as you’ll find yourself buried in a tyre barrier rather fast.
Turn 3 (Graham Hill Bend)
Coming out of Druids, you’ll have to make a quick direction change back over the right as you head down the hill for the Turn 3. Keep to the right-hand side and focus on braking in a straight line just before the kerbing starts on the outside of the track. Change down to second gear and throw the car in to aim for the mid-point apex.
Carrying good momentum and getting on the power early is crucial here. Don’t cut the inside kerb as this will cause TC intervention and might also send you into a spin. The exit kerb and matting are there to be used, however, keep at least your inside wheels inside of the white line to avoid track limits.
Turn 4 (Surtees)
Heading into the uphill and off-cambered left-hander of Surtees is a highly technical corner where a good exit onto the long straight that follows is crucial for lap time.
Keeping to the right, brake just after the “one” board. You’ll be turning in slightly while trail braking here. Shift down to second gear as you aim for the middle of the road initially. Start to crank on the steering aggressively and aim for your apex after the inside kerb goes from being double to a single kerb. Note it is also very bumpy on entry especially close to the apex.
Keep tight to the inside kerb and hug it until it thins out. At this point, you should be back on the throttle and focusing and getting the best possible exit. Open up your steering and let the car run out wide as you power out. Be careful once again of how much exit kerb you use here. Too much will cause severe TC intervention and will bounce the car into the air, costing you lap time all the way down the straight.
Turn 5 (Hawthorn Bend)
By far the fastest corner on the circuit is Hawthorn Bend, which requires high levels of precision and smooth steering inputs to maximize time gain.
From the left-hand side, brake just before the “one” board and trail brake all the way to the inside kerb. Shift down to fourth gear or third depending on your car. The focus here is keeping tight to the inside to allow you to get back on the power early. Hug the inside kerb by turning in early and get on the throttle as soon as possible. This will naturally take you out to the exit kerb which can be used. Kicking up a bit of dust on the exit does happen from time to time, just make sure to avoid track limits.
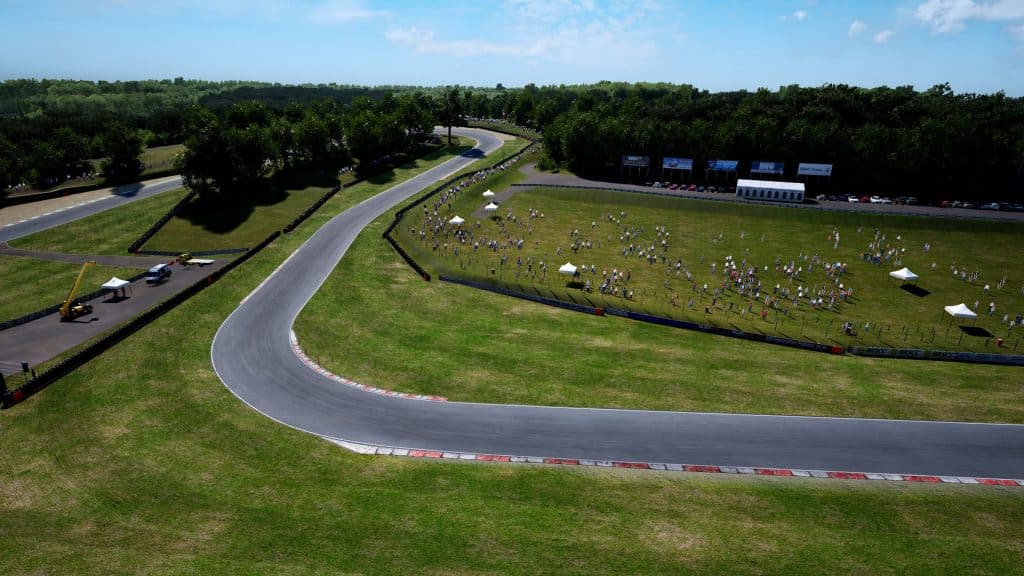
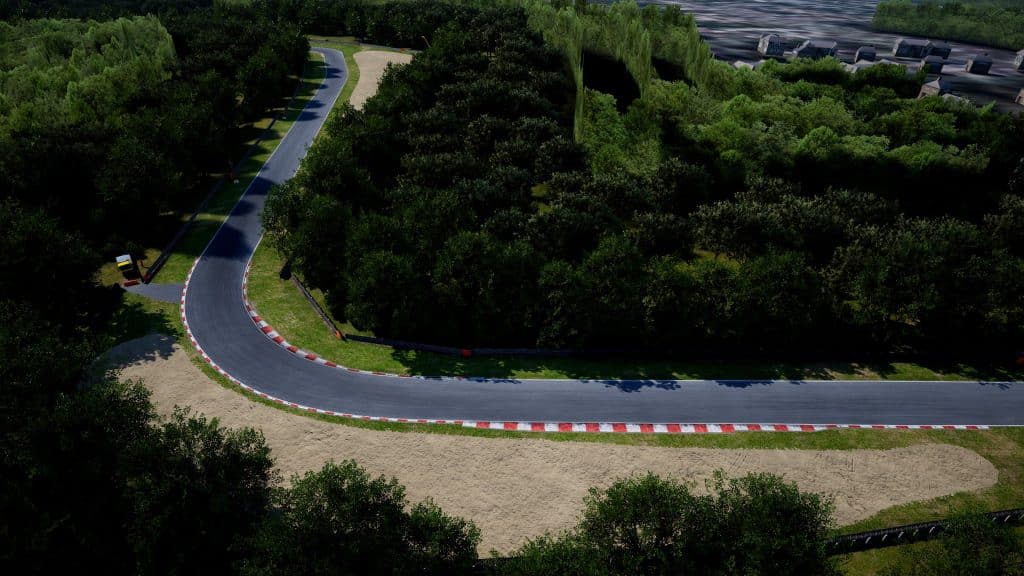
Turn 6 (Westfield Bend)
A short medium-to-fast speed right-hander, the secret at Westfield Bend is to get away with as much corner cutting as possible while carrying serious momentum.
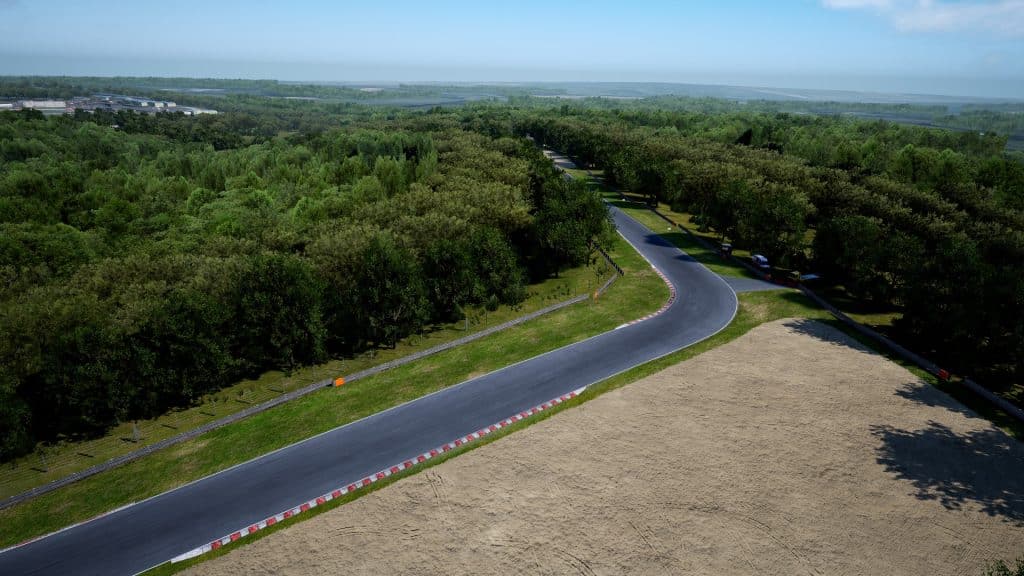
Approaching from the left, look for the “one” board again, brake hard and shift down to third gear. Use trail braking as you turn in to cut the inside kerb. You should aim for an apex with the red and white kerb touching your outside wheels. Once hit, get back on the throttle to get the best possible exit back up the hill.
Use the exit kerb and all the matting available. This is one place you really want to test the boundaries of track limits to maximize lap time.
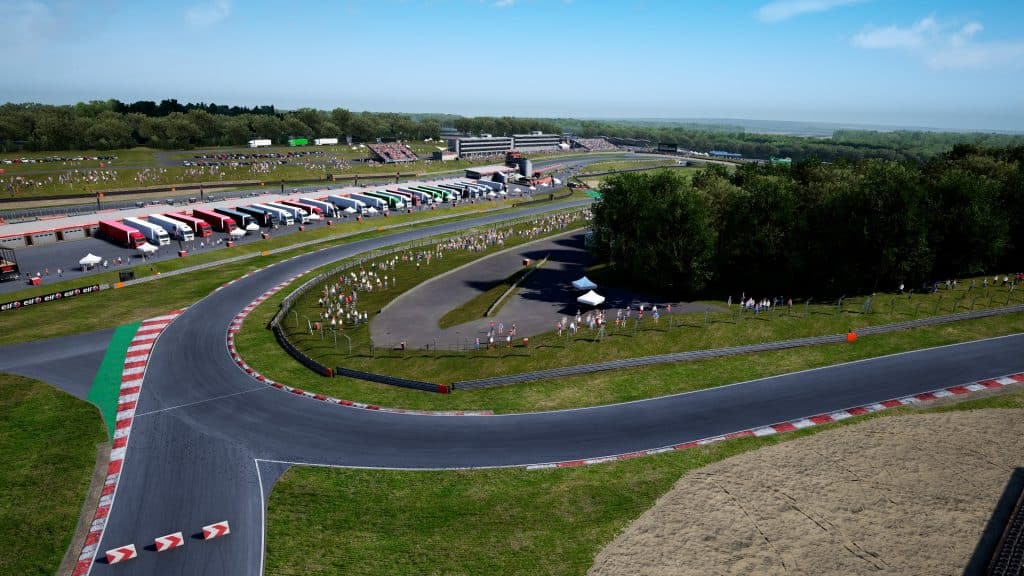
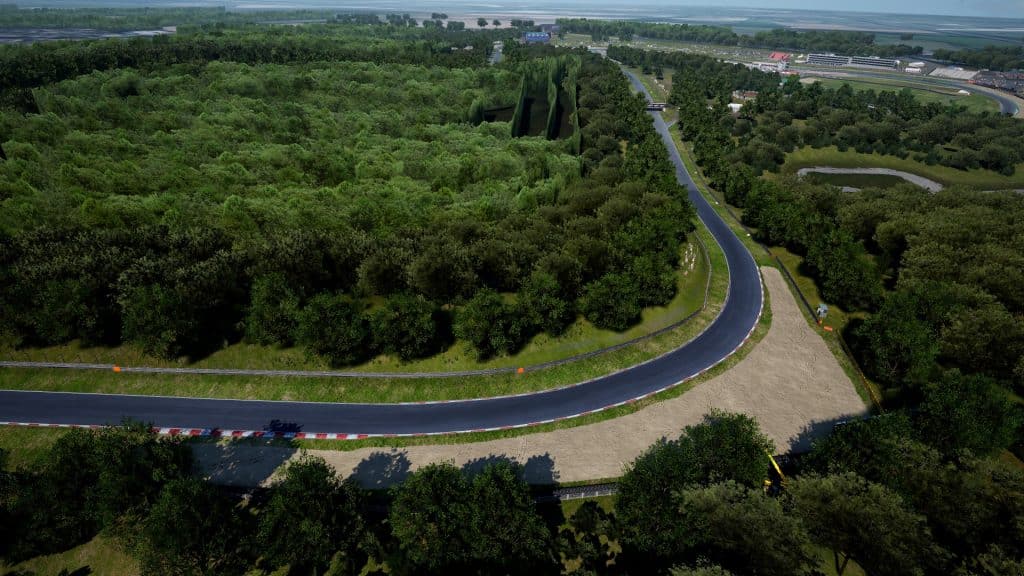
Turn 7 (Sheene Curve)
Sheene Curve is a blind uphill right-hander that can make or break your lap. Approaching from the left, spot that “one” board on the inside and start to brake gently. You’ll want to turn in as soon as you start to brake using slight trail braking towards the apex. Shift down to third and commit to the inside kerb which again you’ll want to cut.
Get back on the throttle just after the apex and use the momentum to carry you to the exit. There is no exit kerb here, just grass, so running wide will destroy any hopes of completing your lap.
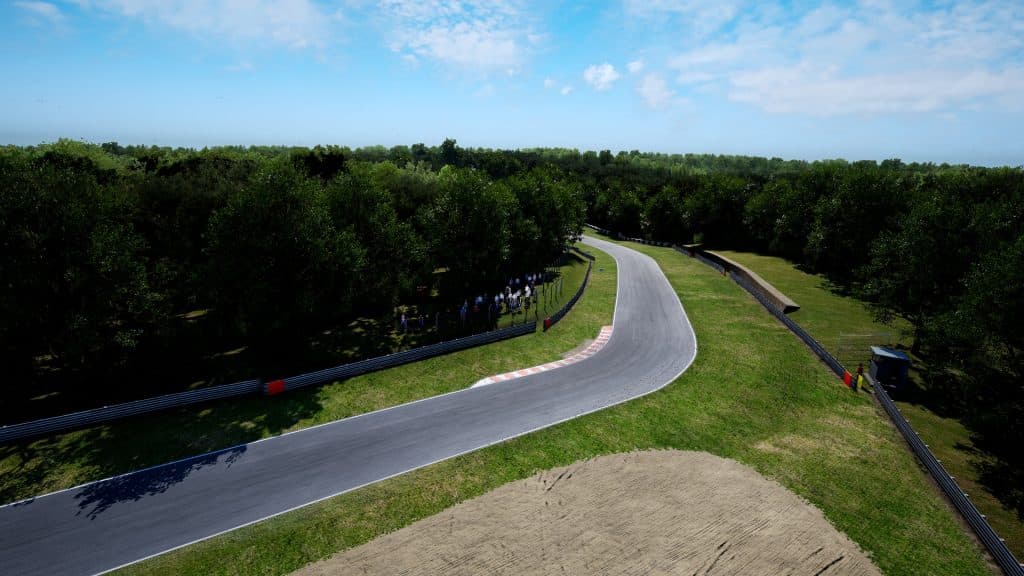
Turn 8 (Stirling’s)
After Sheene Curve, get back over to the right of the track for the banked left-hander that makes up the penultimate corner of Stirling’s.
As you drift back over, spot your braking marker which is just before the “one” board. Do not try to make up time here on the brakes, rather brake on the earlier side and set up the exit. Change down to second gear while aiming to utilise the banking of the corner. Use slight trail braking as you try to get the left front wheel over the inside kerb. This will allow you to get on the throttle as early as possible.
The exit kerb is there to be used but be aware that some cars bottom out on the exit kerb which sucks the car out wide.
Turn 9 (Clark Curve)
Approaching the last corner, it’s all about keeping it together to complete the lap. Approaching from the left, look out for the “one” board. Brake gently and shift down to third. Start to turn in earlier than you think as you aim to make the inside kerb at its midway point your apex. Trail brake and let the car run in smoothly, then just before the apex, start to feed the throttle back on progressively.
There is lots of room on the exit but it can run out quickly if you start to carry lots of mid-corner speed. Watch out for throttle understeer which will cause you to scrub the front tyres.
As you exit the corner, drift back over to the right and hug the pit wall for the shortest run to the line, which concludes a rapid lap of Brands Hatch.